|
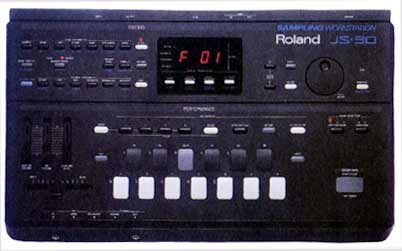
ROLAND JS-30
The JS-30 Sampling Workstation is a self contained Phrase Sampler designed for DJs in both live and studio applications. It is 8 note polyphonic, 16 part multitimbral, and contains 36 specialized ROM sounds.
Also included is a Beats Per Minute (BPM) function for matching tempos of various samples. The JS-30 features a 4-Track Realtime Phrase Sequencer (RPS) for sample playback.
The sampling RAM can be expanded to 4MB using standard SIMMs memory chips.
A SCSI port comes standard for saving and loading data. The JS-30 can read
Roland S-700 Series and Akai S-1000/1100 CD Rom libraries.
Initialize
1) Hold RECORD (in the PERFORMANCE section) and turn the power on.
Playing Demos or other Sequences
1) Press DEMO.
2) Press TRACK 1 and Demo 1 will play.
3) Press STOP to stop the Demo.
4) Press the TRACK 2 after pressing DEMO to select Demo 2.
Selecting Banks and Samples
1) Press FACTORY BANK under BANK SELECTOR. Each time you press the button you can shift between the 3 banks of built-in sounds.
Creating a Sample
1) Connect an input source (such as a microphone)
to the JS-30s Mic In input or rear input jack.
2) Press the RECORD (in the EDITING section), the
LED should light.
3) Play your input source and adjust the level with the Sampling Level fader. Be sure that the horizontal fader is set to INPUT (all the way left). You can monitor the input level in the Level Indicator section of the display.
4) Press the grey SAMPLING button to begin sampling.
5) Press SAMPLING again to stop recording.
6) The sample you just created will be the last one
in memory. r 01 will be displayed indicating that
a sample has been created. You can now play
the pads and hear the sample.
Recording a Realtime Phrase Sequence (RPS)
1) Press RECORD. TRACK 1 will flash indicating that it is in Standby mode.
2) Play the pads to begin recording.
3) Press START/STOP when finished recording.
4) Press RECORD followed by TRACK 2 to record
on the next track. It will flash indicating that it is
in Standby mode.
5) Play the pads (or press START/STOP)
to record on Track 2.
6) Continue this process to record Tracks 3 & 4.
7) Press START/STOP to play back your
sequence.
Using the Beats Per Measure (BPM) Function
This function allows you to match the tempo of multiple drum loops.
1) From PLAY mode, play the drum loop on the D pad of FACTORY BANK 1.
2) Press EDIT followed by the F pad to hear the sample at its original pitch.
3) Hold pad 9 and press HOLD. The sample will play continuously.
4) Hold the blue 2ND FUNCTION button and press BPM SET, b will be displayed.
5) Press BPM SET.
6) Tap the grey TAP-TEMPO- SAMPLING pad at the same tempo as the drum loop. You should hear a beep sound as you tap the pad.
7) Once you have chosen the tempo, press ENTER to assign the tempo to the pad.
8) Press PLAY to return to Play mode.
9) Repeat steps 1-5 to assign the tempo for additional drum loops and/or samples.
10) Hold the blue 2ND FUNCTION button and
press MASTER BPM to display the Master
Tempo of the Performance. It will display b---.
11) Press MASTER BPM.
12) Tap the gray TAP-TEMPO- SAMPLING pad at the desired tempo for the drum loops. You will hear a beep sound as you tap the pad.
13) After you set the tempo, press ENTER to assign the tempo to the performance. All samples that were assigned tempos will now play back at the Performance tempo.
The JS-30s memory can be expanded with up to three 30 pin, 1X8Mbyte SIMMs memory chips.
|
|